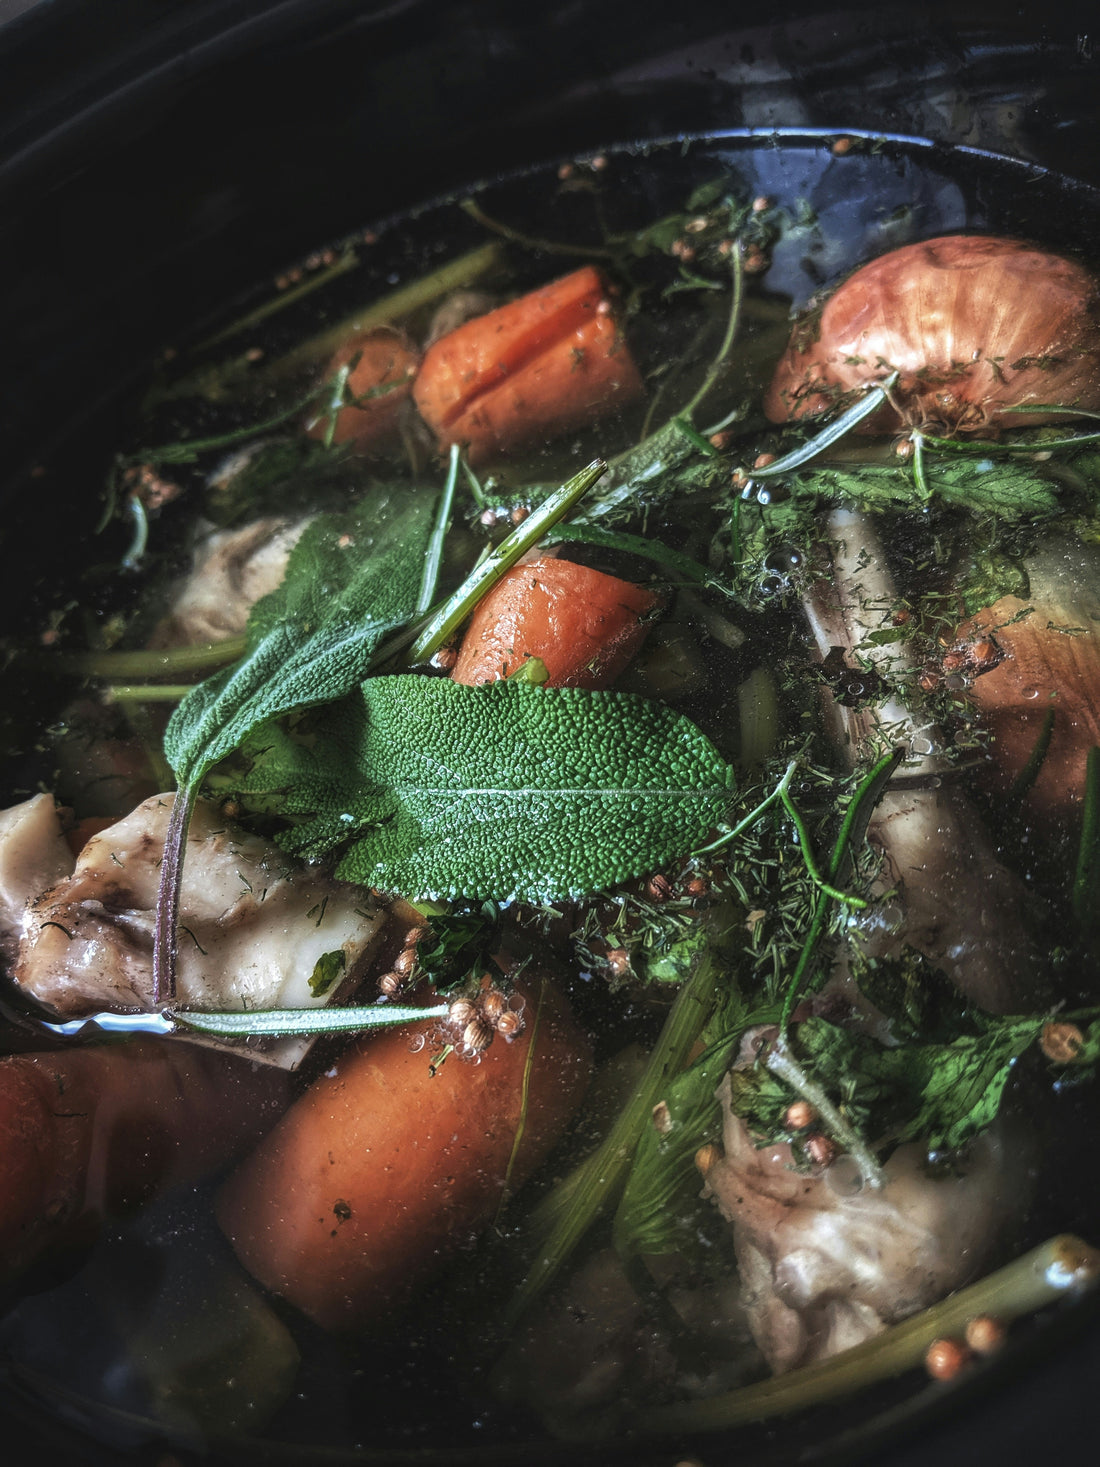
Chicken Bone Broth
Share
Making an obscene amount of bone broth at one time keeps me sane. You can usually find me making our dinners from scratch, often doubling or quadrupling meals to feed our large family of 6 or so I can freeze the other half of a meal for an easy night another time.
Freezing my bone broth correctly makes a huge difference for me. I discovered my Food Saver isn't only handy when I need all of the air taken out of a freezer bag. It actually works fantastic to make quart-sized bags of broth to freeze, too! The best part? It freezes flat for a great use of space in our deep-freezer. It thaws quickly, too.
It's easier than it sounds, and using the pre-made quart bags is my favorite way to quickly get this job done. Either wait until your broth has cooled enough to handle, or stick your strained bowls in the fridge overnight before you bag it.
When you're ready to bag your homemade chicken bone broth, grab a 4-cup measuring cup and a ladle and be prepared to be amazed! Write the details (like date and "chicken broth") on your bags, and begin by filling your first bag with 4 cups (1 quart) of broth. Using a measuring cup makes the least amount of mess here, so be sure to use one if you've got it! Grip your bag tightly with your opposite hand, and pour contents into the bag.
Next, carefully lay the bag down while contuing to hold the open top half that you are going to lay flat onto your heat bar on your Food Saver. Remember DO NOT press "vacuum seal" and ONLY press "seal" (I like to click "liquid" on mine, just in case that's important). Be careful to get as many air pockets out of the bag before you do this step. Your bag will seal and it's ready to be laid flat to freeze!
Once your bags are all frozen, you can rearrange them in your freezer stacked however you prefer since they are all uniform and ready to be organized! We hope this is helpful to you and your family, let us know in the comments if you have a unique way you like to save food for later!
Chicken Bone Broth
Rated 5.0 stars by 1 users
Category
Broth
Author:
Nicole Bimber
Servings
9 quarts
Prep Time
20 minutes
Cook Time
24 hours
The secret is in the chicken feet (and heads too, if you can access these from local farmers or are butchering your own poultry). A true staple in any nourished kitchen, bone broth is a vital part to some of the best soups and other meals like Green Soup or Bone Broth Mac N Cheese! Check out our Beef Bone Broth Recipe if you're looking for something for your favorite heavier dishes.

Ingredients
-
3 whole chicken carcasses skin, etc. included
-
1 lb chicken feet or a mixture of heads/feet
-
8 large carrots chopped into large pieces
-
4 large celery stalks leaves included, chopped into large pieces
-
2 yellow onions halved, skin on (remove only outer, dirty layer)
-
1 head of garlic halved, skin on
-
1 Tb black peppercorns
-
½ Tb himalayan sea salt
-
2 Tb apple cider vinegar
-
4 bay leaves
-
as much filtered water as will fill your largest heavy stockpot (mine is an older version of this 12 quart pot)
Directions
Place frozen or thawed chicken carcasses, feet and heads (if using), along with all of the remaining ingredients into your heavy-bottomed stock pot (this is similar to what we use).
Cover pot contents to just below the rim of your pot with water and bring to a boil over medium-high heat. It will boil quicker if you put the lid on, keep an eye on it though!
Once boiling, reduce to a bare-simmer (should be bubbling) and cover over low heat for up to 24 hours.
After 24 hours, turn off heat and allow to cool slightly.
Strain over a cheesecloth into a large bowl (I usually need two bowls).
Use as needed, or store for future use!
Recipe Note
*If you do not have a 12 quart stockpot, feel free to adjust this recipe down to what you size pot you have!
*Be sure to read the blog post for instructions on how to no-fuss freeze your broth once you're done!

